
Introduction
Contents
Existing WordPress site? If you’re migrating an existing blog, you may be interested in Moving WordPress.
New WordPress site? If you’re starting a new blog, sign up at Digital Ocean and follow the steps below. If you want to skip the tutorial below, you can purchase my pre-configured WordPress image for Digital Ocean. It includes the fully optimized configuration with recommended plugins, a responsive theme and Varnish and W3TC configuration. Here’s an example site running the image.
Notes:
- You’ll want to have a domain name registered for your WordPress site. If you don’t have a registrar or need more information, visit Registering Your Domain Name. I recommend NameCheap.
- Digital Ocean offers a one click install of WordPress but if you use this, it will be more difficult to optimize your configuration with Varnish and W3TC as I describe in my tutorials.
- If you’re looking for a simpler, fully-managed WordPress hosting solution, try WPEngine.
Sign Up with Digital Ocean
Visit the Digital Ocean website to sign up. The process is simple and only requires an email and password:

Creating a Droplet
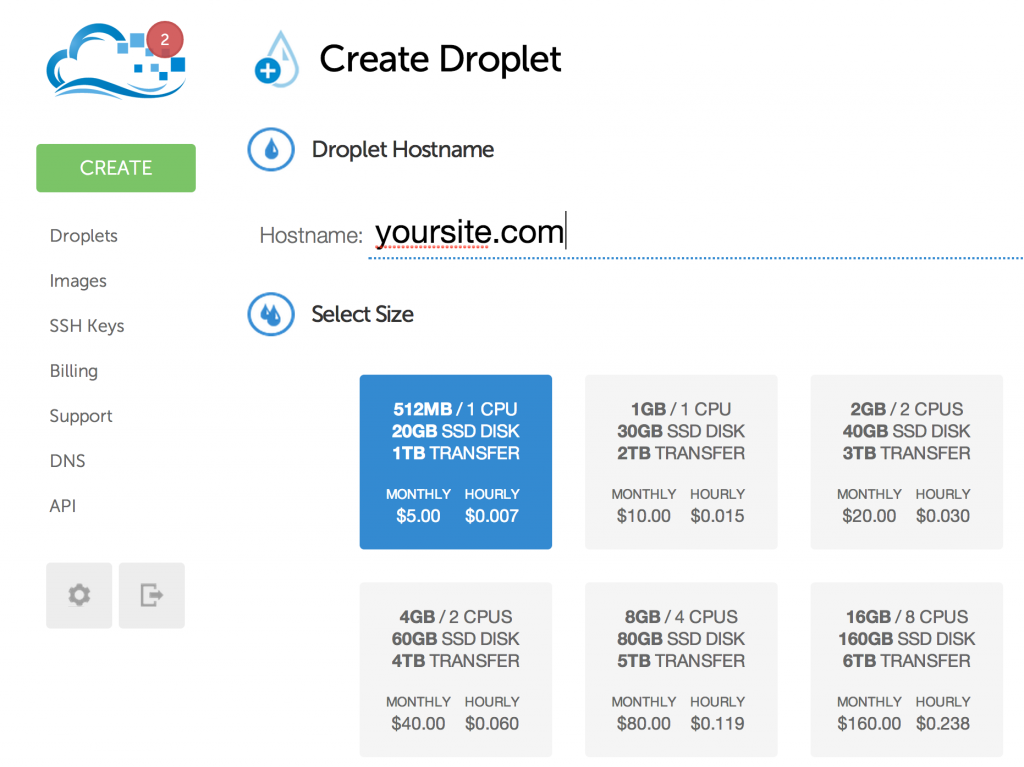
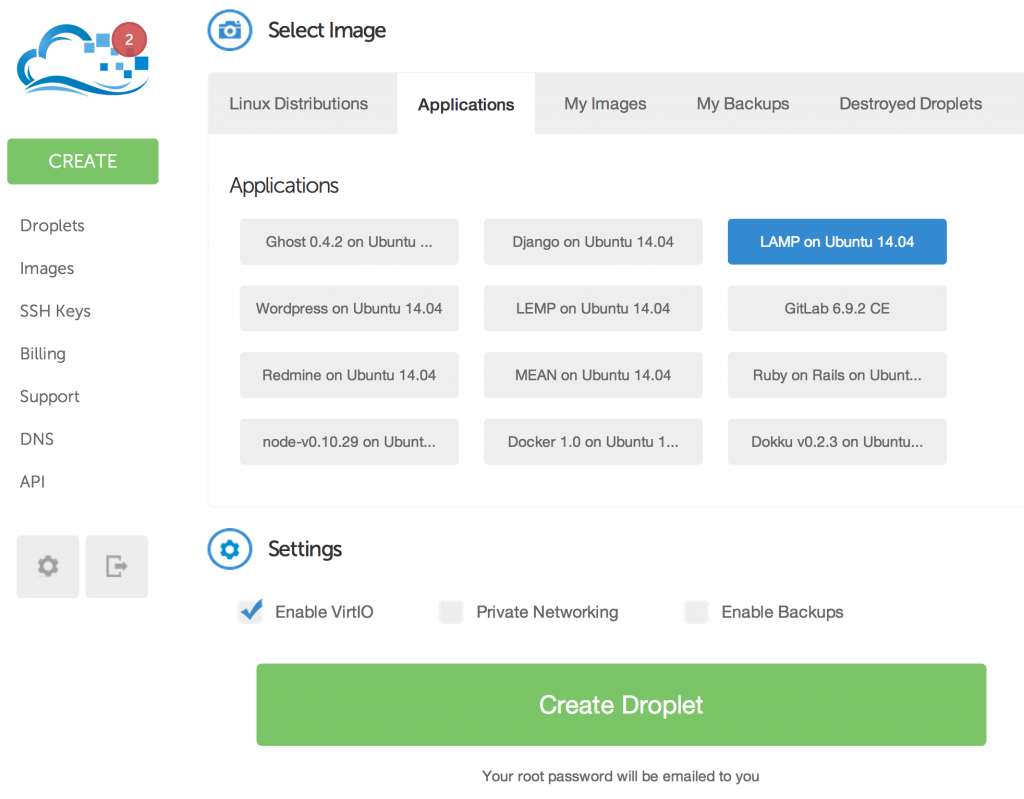
Digital Ocean’s cloud instances are called Droplets. Once you sign up, you can create your first Droplet using the selections below. You’ll want to have a hostname (domain or sub-domain name) chosen for your WordPress site in mind. You can also select any region closest to you or your typical reader e.g. San Francisco or New York. Under Select Image, choose Applications: LAMP on Ubuntu 14.04 LTS.
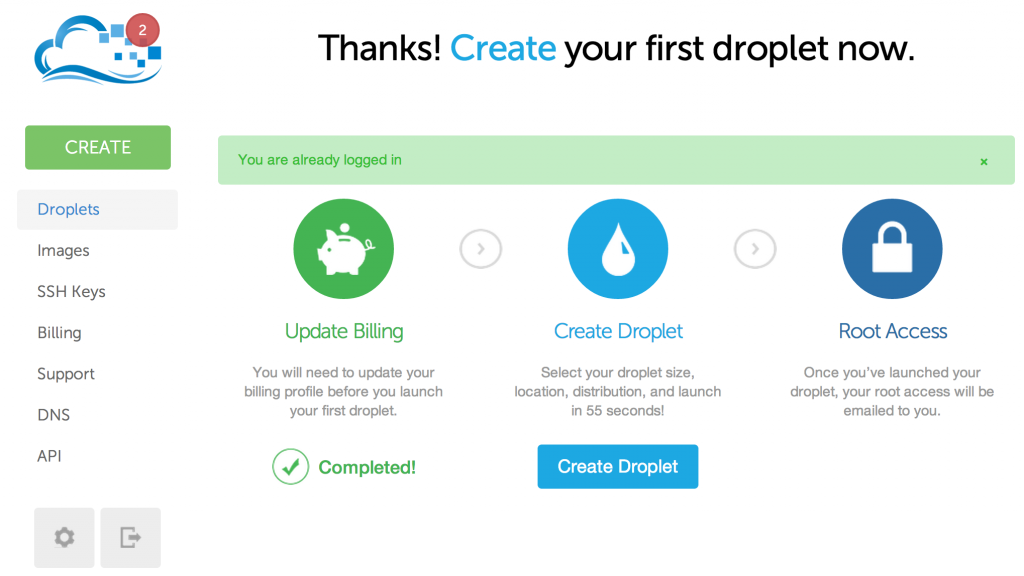


Creating a droplet only takes a minute. Digital Ocean will email you your IP address and root password.
Once you have your IP address, you can begin the process of mapping your domain name e.g. yourdomain.com to your future WordPress site. Visit your domain registrar’s DNS settings and change the A record for your yourdomain.com to the new IP address e.g. 54.234.124.117.
Wait until your DNS changes propagate (sometimes up to 24 hours or more – check them here), try to connect via SSH using your domain and the password provided in the Digital Ocean email.
ssh root@yourhostname.com
You can also use your IP address until your domain name is active:
ssh root@xx.xx.xx.xx
Change your password when prompted, or use:
passwd
Configuring Your Droplet
There are a few things you’ll want to do to get your droplet ready for WordPress.
sudo apt-get update
sudo apt-get upgrade
sudo a2enmod rewrite
It’s also best to run through the script for securing your MySQL server installation:
mysql_secure_installation
If you’re using the $5 512MB RAM droplet, you’ll want to create a Swap file for WordPress to operate properly:
dd if=/dev/zero of=/swapfile bs=1M count=1024
mkswap /swapfile
swapon /swapfile
Edit the fstab file:
sudo nano /etc/fstab
Add this line:
/swapfile swap swap defaults 0 0
Verify the swap file is active by typing:
free
Note: If you didn’t create your Droplet with the LAMP for Ubuntu 14.04 application, then you’ll need to install components for Apache, MySQL and PHP to work together by following the remaining steps below:
sudo apt-get install mysql-server
sudo apt-get install php5 libapache2-mod-php5 libapache2-mod-auth-mysql php5-mysql
Create a www directory with permissions for the Apache web server:
sudo mkdir /var/www
sudo chown www-data:www-data /var/www
cd /var/www
Installing WordPress
It’s time for the fun part of installing WordPress. Full instructions are supplied in more detail at WordPress’ Codex.
Download the latest version of WordPress, expand the archive and set permissions:
cd /var/www
sudo wget http://wordpress.org/latest.tar.gz
sudo tar -xzvf latest.tar.gz
sudo chown -R www-data:www-data wordpress
You’ll be asked to provide a user name and password. Make note of your choices for use during the setup process.
[sc:AdWPSky]Configure the MySQL Database. Change user name and password below to whatever you selected during the installation:
mysql -u root -p
create database wordpress;
grant all privileges on wordpress.* TO "your-mysql-username"@"localhost" identified by "your-mysql-password";
flush privileges;
exit;
Setup Your WordPress Apache Site
Now, it’s time to create a site configuration file for your Apache server to host WordPress:
cd /etc/apache2/sites-available
Let’s create a new file to edit:
sudo nano wordpress.conf
Paste in the sample site file below and be sure to replace the naming convention for your domain name:
<VirtualHost *:80>
   ServerName yourdomainname.com
   DocumentRoot /var/www/wordpress
   DirectoryIndex index.php
   <Directory /var/www/wordpress/>
      AllowOverride All
      Order Deny,Allow
      Allow from all
   </Directory>
</VirtualHost>
Tell Apache to disable the default site and enable your wordpress site, then reload:
sudo a2ensite wordpress.conf
sudo a2dissite 000-default.conf
sudo service apache2 reload
Configure WordPress
Now, we’re ready to tell WordPress about the database and your blog. First, we’ll temporarily change the permissions on your wordpress directory:
cd /var/www
sudo chmod -R 777 wordpress
Open a web browser and navigate to your domain name e.g. http://yourdomain.com. If your domain name hasn’t yet updated in the DNS, you can visit your IP address e.g. http://xx.xx.xx.xx
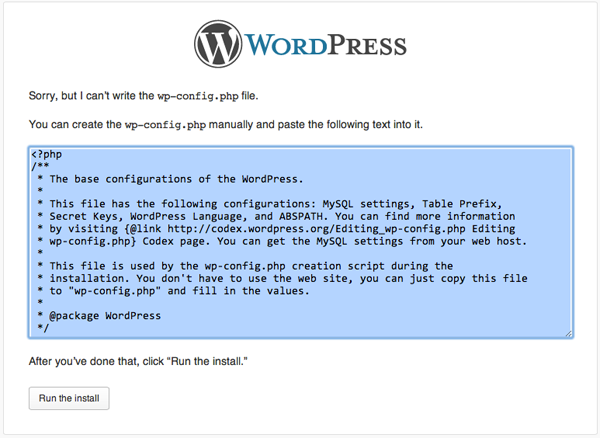
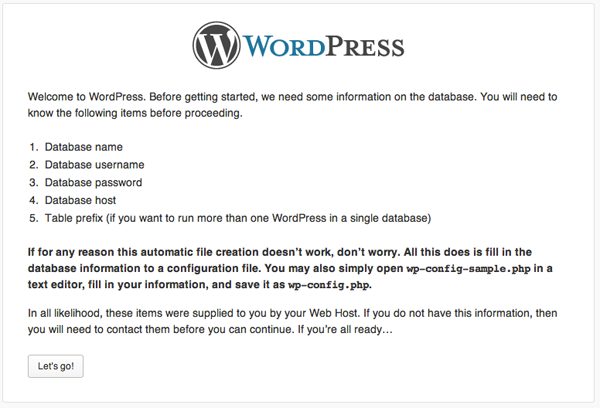
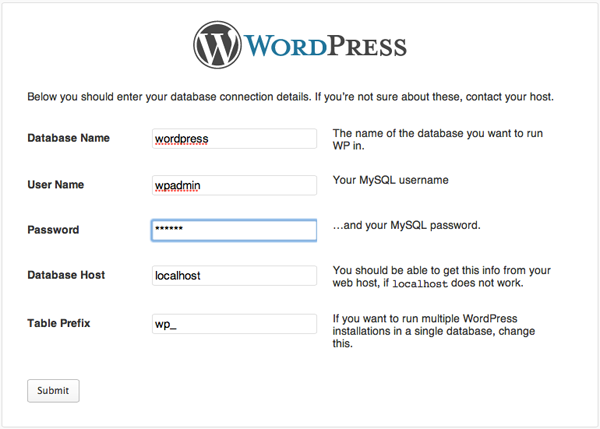
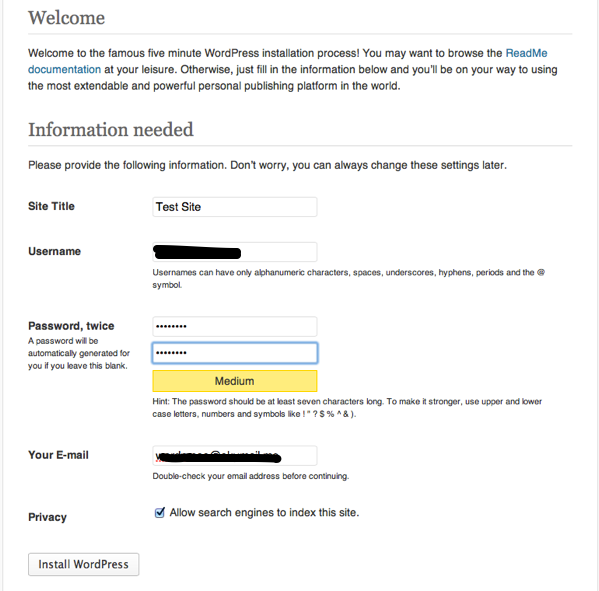
Fill out the database information that WordPress requests using your choices above. The process will look something like this:

Now, let’s lock down the permissions for the WordPress installation for security:
sudo find /var/www/wordpress/ -type d -exec chmod 755 {} \;
sudo find /var/www/wordpress/ -type f -exec chmod 644 {} \;
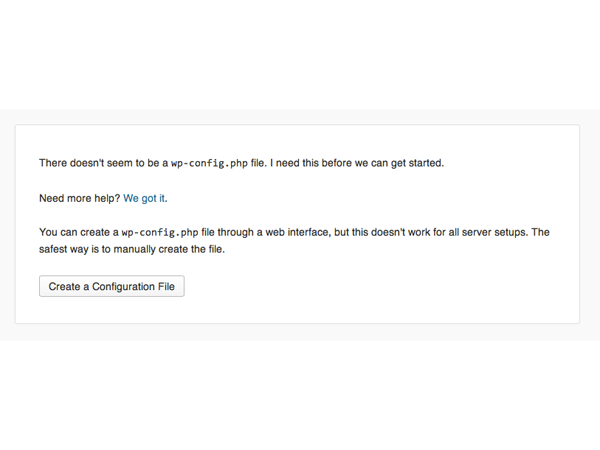
Let’s also make manual updates to the wp-config.php file:
sudo nano /var/www/wordpress/wp-config.php
Add the following configuration lines above the stop editing line:
define('FS_METHOD', 'direct'); // for automatic plugin installation
/* That's all, stop editing! Happy blogging. */
Try logging into the WordPress Administration system. Visit http://yourdomain.com/wp-admin and enter the user name and password you chose during the installation process:

WordPress Administrator Login
If you’re successful, it should look something like this:

WordPress Administrator Dashboard
Congratulations on your new WordPress installation.