What is a CDN?
[sc:wpcloud]The goal of a Content Delivery Network (CDN) service is to deliver your static content quickly and affordably worldwide. The CDN stores your files locally on its servers around the world – delivering bits to your site visitors more quickly through geographic proximity and other optimizations.
W3 Total Cache’s integration with Amazon’s CloudFront and S3 storage service makes using a CDN quite easy and affordable. You can use the CDN to deliver all of your images and also your Javascript, CSS and static WordPress theme files.
Note: you may save some time if you choose a theme and install the other plugins you plan to use before completing the rest of the Amazon CloudFront configuration process. Changing themes and adding plugins will likely require you to purge your W3 Total Cache and re-export media files to your CDN.
Create Access Keys
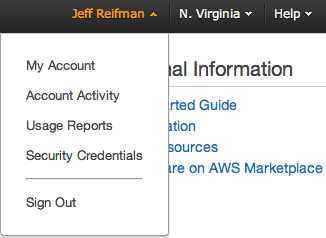
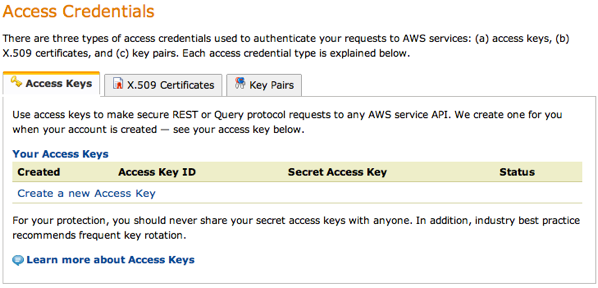
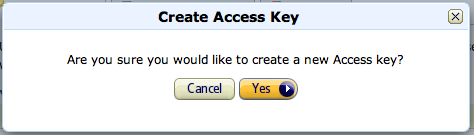
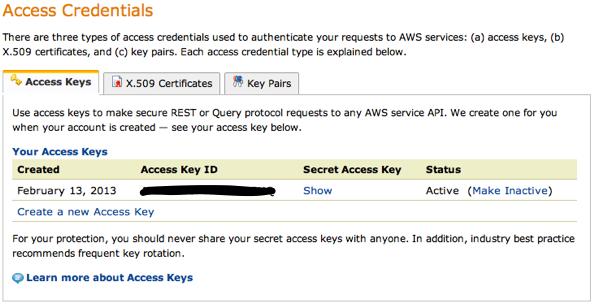
To set up your CDN, you’ll need to set up access keys with your Amazon AWS account. Sign in to the AWS Console, click on your account name to access the Security Credentials page from the drop down menu. If you don’t have an Access Key yet, you need to create one. The process will look something like this:
[sc:AdWP468]
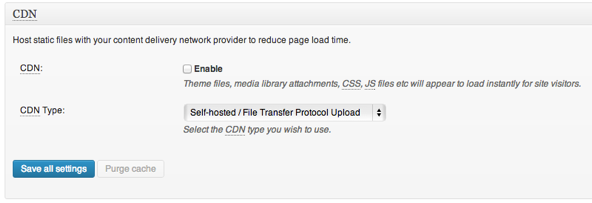
Enable Your CDN with W3 Total Cache
From the WordPress Administration left sidebar, click Performance -> General Settings. Scroll down to enable the CDN. If you have a popular site, using origin pull is recommended. But, for smaller blogs, it may make sense to use origin push and take the extra steps to upload your static files to the CDN. Amazon’s S3 storage costs are almost negligible.

Theoretically, if requests for your files are only made occasionally, the CDN won’t store your files very long and will always need to hit your site to get the latest. However, if you use W3 Total Cache to regularly push the latest files to the CDN, they will always be there. Conversely, if you have a busy site, the CDN will often have the images to serve your site visitors and pull will work well.
Create Your S3 Bucket and CloudFront CDN URL
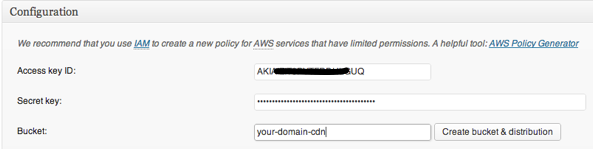
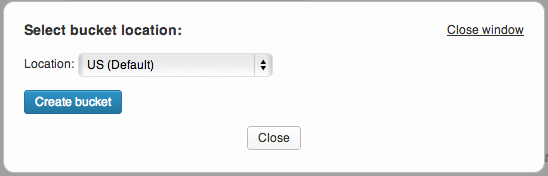
Then, from the sidebar, click Performance -> CDN to set up your access keys, create the S3 bucket that will store your files and CNAMEs.
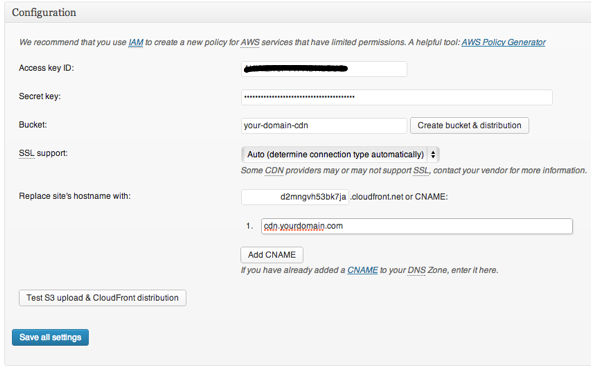
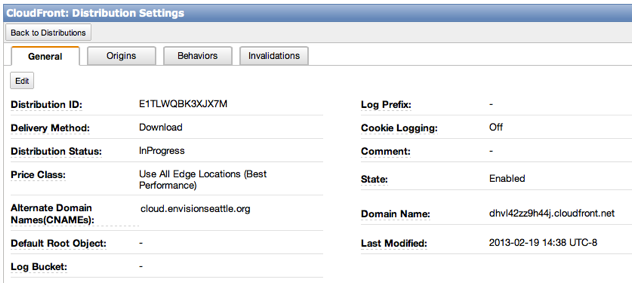
By default, your blog will use a domain url such as dhvl42xx3h44j.cloudfront.net. Once you’ve created your S3 bucket and received your CloudFront URL, you can set up a friendly CNAME with your own domain. From your domain registrar, create a CNAME record such as cdn.yourdomain.com to point to xxxxxxxx.cloudfront.net.
![]()
Add the new CNAME(s) to the W3 Total Cache CDN Configuration Panel and click the “Test S3 upload and Cloudfront Distribution” button.
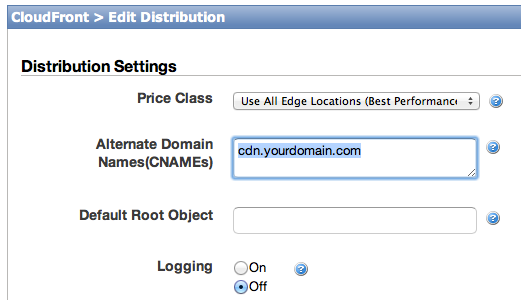
If you receive an error when adding your CNAME to the W3 Total Cache such as “Error: Domain name cdn.yourdomain.com is not in distribution CNAME list”, you may need to visit the CloudFront Dashboard from the AWS Console and manually edit your CNAME for your CloudFront distribution:

While W3 Total Cache supports splitting up static files across multiple CNAMEs (modern browsers are threaded and can download files in parallel from 4-8 URLs in parallel), I found that just using one CNAME worked best on my site. When I tried to use four CNAMEs, I found browsers got blocked and were slow loading pages. Your mileage may vary.
On the W3 Total Cache CDN Configuration page, scroll to the advanced panel and turn on “Set cookie domain to cloud.yourdomain.com”. This will prevent unwanted cookie traffic with static file requests.
![]()
Export Your Static and Theme Files
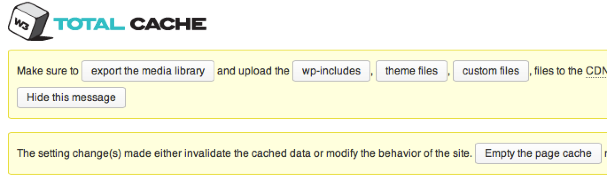
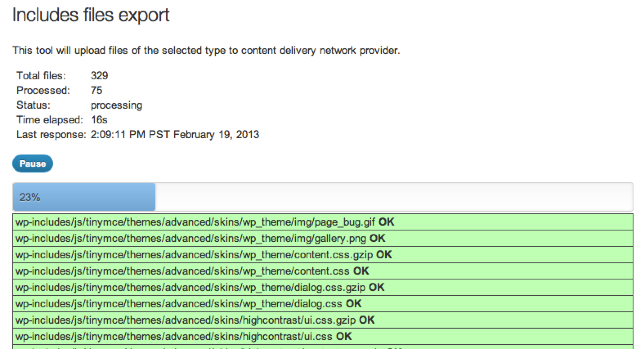
Now, it’s time to upload your images, WordPress theme files (Javascript, CSS and other theme files). From The W3 Total Cache Dashboard, click Export Media Attachments. That will open a popup to “push” your files to the S3 Bucket for the CDN to use. You’ll need to repeat this process for each type of file e.g. wp-includes, theme files and custom files. It will look something like this:
Whenever you change themes, plugins or change certain W3 Total Cache settings, you’ll need to repeat the process of exporting your static files.
Other Notes
One user reported in the comments below that they had trouble with the default settings of the S3 bucket created by W3TC. I believe when you allow W3TC to create your S3 bucket, the permissions are set to public properly. But, if not, you may need to go into the distribution settings and manually change the access control settings. Open the Amazon S3 Management Console at http://console.aws.amazon.com/

[sc:TutorialFooter]