Before you move forward with an Amazon instance, you may want to explore installing WordPress at Digital Ocean (this site runs at Digital Ocean). I’ve recently decided to switch to Digital Ocean because of their low $5 per month pricing and fast solid-state digital (SSD) drives. In general, DO is simpler and cheaper than Amazon.
Create Your Amazon EC2 Server Instance
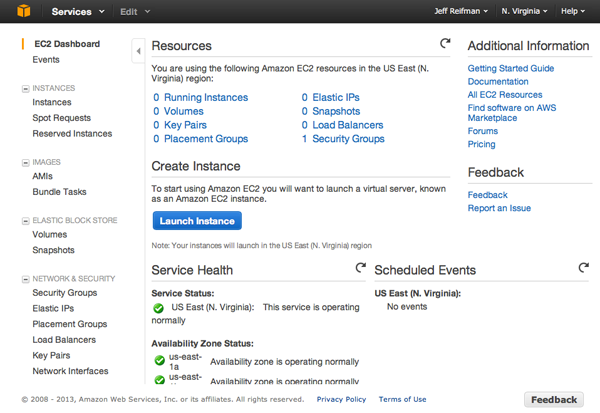
[sc:wpcloud]Now that you have an account, you can log in to the AWS Console to create your new virtual server. Click the EC2 link shown in the dashboard below.
Choosing Between a Micro or Small Instance
If you want to run a lightly trafficked WordPress site, a micro instance will likely work well for you. If you’re new to AWS, you should be able to run your blog in their free usage tier for one year. If you buy a three year reserved micro instance for $100, you can reduce the total monthly fee to $6.44. With a micro instance, you’ll need to set up a swap file (described later) which can generate some minor additional costs and should occasionally be monitored.
If you think your blog’s popularity and complexity will pick up quickly, you may want to start with a small instance, which costs $43.92 monthly. If you purchase a three year reserved small instance for $300, it can be reduced to $9.62 monthly (total adjusted monthly rate of $17.95). Read more about pricing and estimating costs.

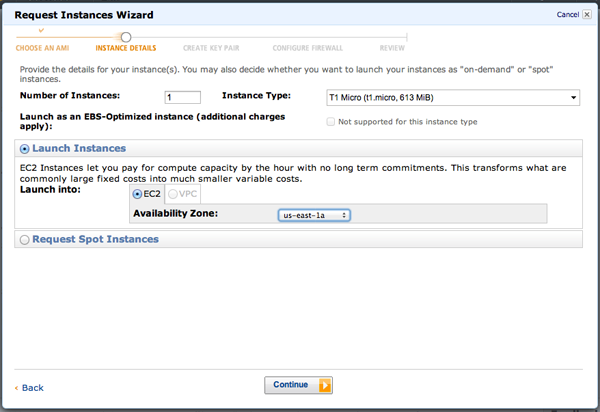
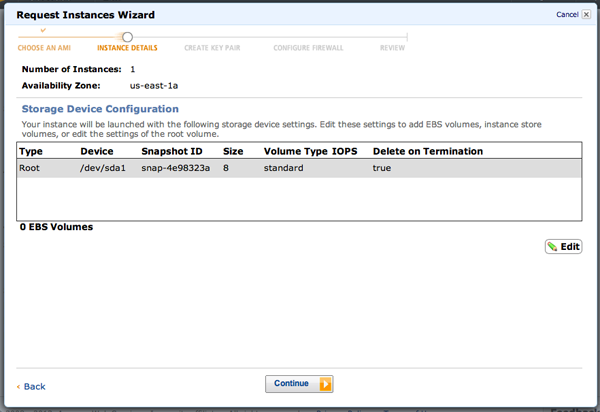
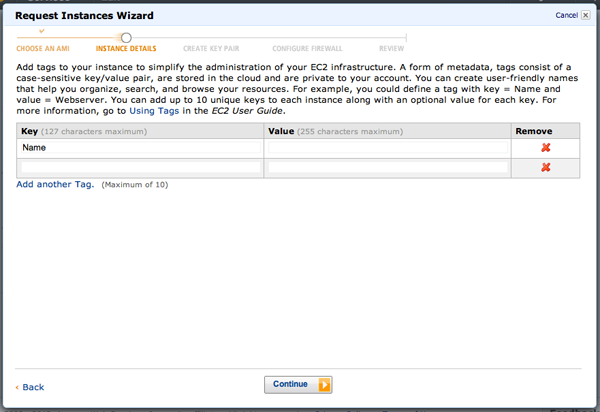
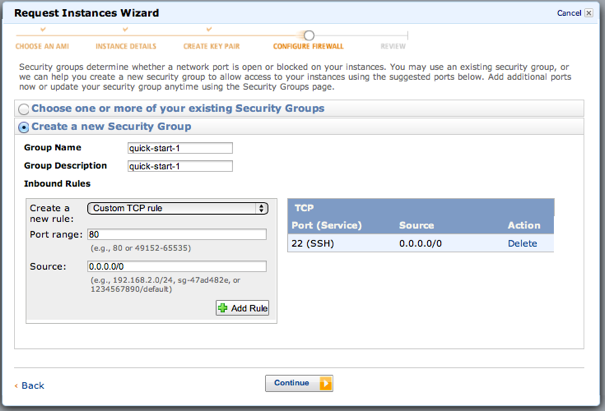
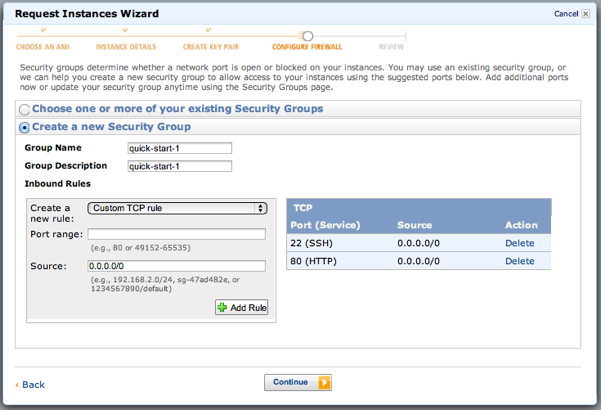
Click the Launch Instance button shown below to start the create instance wizard. If you do not expect significant traffic on your blog, select an Ubuntu 12.xx (64 bit) Micro instance. When you reach the page for Configure Firewall, add a security rule to allow HTTP traffic on port 80:

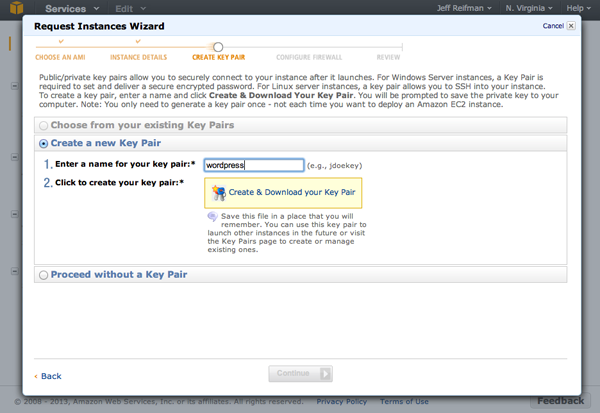

During the process, the wizard will download a private key to your computer’s Downloads directory.
[sc:AdWP468]
Login Remotely to Your Server Instance
Now, you’re instance is ready for you to login remotely via SSH. Open Terminal on your computer. Move the downloaded key to your SSH key directory and set the permissions:
mv ~/Downloads/wordpress.pem ~/.ssh
chmod 400 ~/.ssh/wordpress.pem
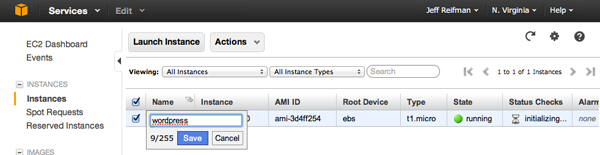
Copy the URL for the instance from the console e.g. ec2-75-101-173-192.compute-1.amazonaws.com (see below):

Your New Instance in the AWS Console
From Terminal, try to connect via SSH:
ssh -i ~/.ssh/wordpress.pem ubuntu@ec2-75-101-173-192.compute-1.amazonaws.com
If you’re using Windows, you’ll need to use PUTTY to connect.
If you still have trouble, you can connect through Amazon’s Console on the EC2 Instance list:

Connecting through AWS Console
It should look something like this when you connect:

First Connection to Your Instance
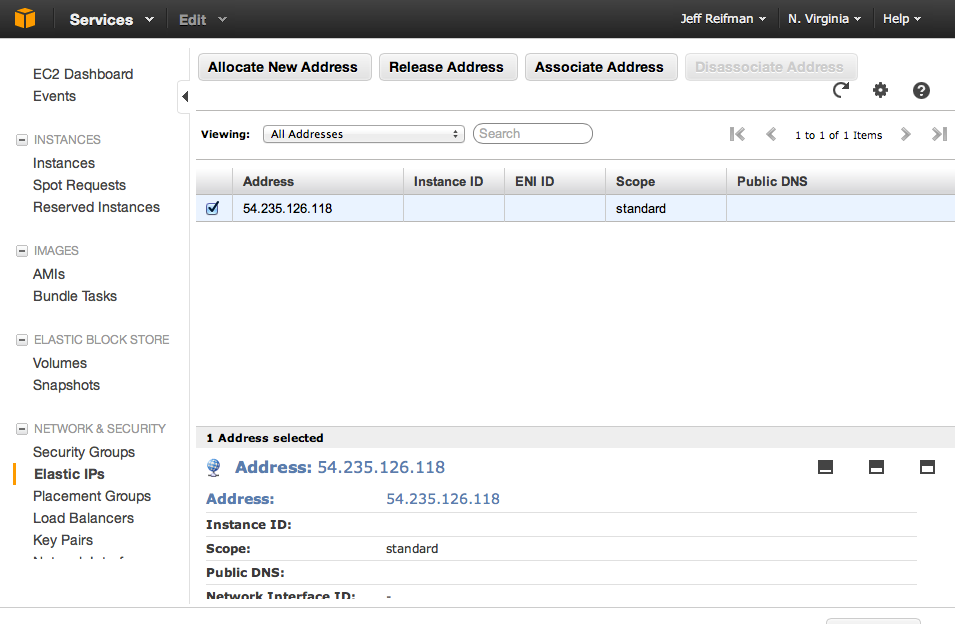
Set Up an Elastic IP Address
Now, it’s time to associate a public IP address with your instance so that you can map your domain name e.g. yourdomain.com to your WordPress site. From the EC2 Dashboard left sidebar, click on Elastic IPs. Then, click Allocate New Address. Amazon provides one free Elastic IP per running instance.
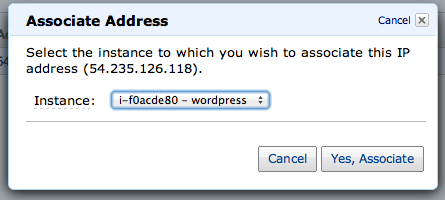
As shown below, you’ll then have to associate the new elastic address with the instance you created.

The address with which you remotely login via SSH will now have changed to reflect your elastic IP address (replace the x’s with your new elastic IP):
ssh -i ./wordpress.pem ubuntu@ec2-xx-xx-xx-xx.compute-1.amazonaws.com
This may also work:
ssh -i ./wordpress.pem ubuntu@xx.xx.xx.xx
Configure Your Domain Name
Now, you can begin the process of mapping your domain name e.g. yourdomain.com to your future WordPress site. Visit your domain registrar’s DNS settings and change the A record for your yourdomain.com to the new IP address e.g. 54.234.124.117
Wait until your DNS changes propagate (sometimes up to 24 hours or more – check them here), try to connect via SSH using your domain:
ssh -i ./wordpress.pem ubuntu@yourdomain.com
In the meantime, you should be able to continue setting up other parts of your site. Next step is Securing Your Instance.
[sc:TutorialFooter]