[sc:wpcloud]It’s time for the fun part of installing WordPress. Full instructions are supplied in more detail at WordPress’ Codex.
Upgrade to the latest Ubuntu distribution and its packages:
sudo apt-get dist-upgrade
Create a www directory with permissions for the Apache web server:
sudo mkdir /var/www
sudo chown www-data:www-data /var/www
cd /var/www
Download the latest version of WordPress, expand the archive and set permissions:
sudo wget http://wordpress.org/latest.tar.gz
sudo tar -xzvf latest.tar.gz
sudo chown -R www-data:www-data wordpress
Install MySQL Server
Install the MySQL Server package:
sudo apt-get install mysql-server
You’ll be asked to provide a user name and password. Make note of your choices for use during the setup process.

MySQL Server Password Request

Configure the MySQL Database. Change user name and password below to whatever you selected during the installation:
mysql -u root -p
create database wordpress;
grant all privileges on wordpress.* TO "your-mysql-username"@"localhost" identified by "your-mysql-password";
flush privileges;
exit;
Setup Your WordPress Apache Site
If you did not choose an Amazon AWS AMI which pre-installed Apache, you may need to install it now:
sudo apt-get install php5 libapache2-mod-php5 libapache2-mod-auth-mysql php5-mysql
Now, it’s time to create a site configuration file for your Apache server to host WordPress:
cd /etc/apache2/sites-available
Let’s create a new file to edit:
sudo nano wordpress
Paste in the sample site file below and be sure to replace the naming convention for your domain name:
<VirtualHost *:80>
   ServerName YOURDOMAIN.COM
   DocumentRoot /var/www/wordpress
   DirectoryIndex index.php
   <Directory /var/www/wordpress/>
      AllowOverride All
      Order Deny,Allow
      Allow from all
   </Directory>
</VirtualHost>
Tell Apache to enable the site and reload:
sudo a2ensite wordpress
sudo service apache2 restart
Configure WordPress
Now, we’re ready to tell WordPress about the database and your blog. First, we’ll temporarily change the permissions on your wordpress directory:
cd /var/www
sudo chmod -R 777 wordpress
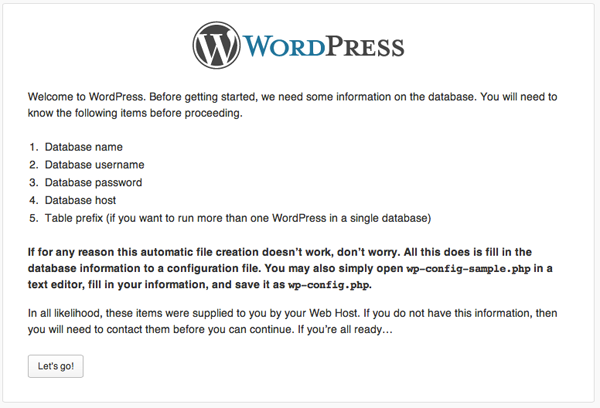
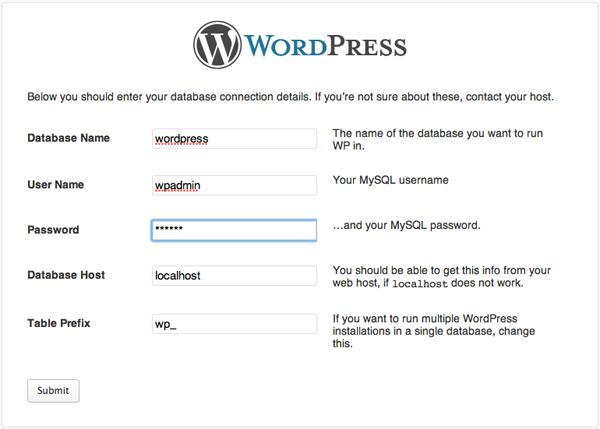
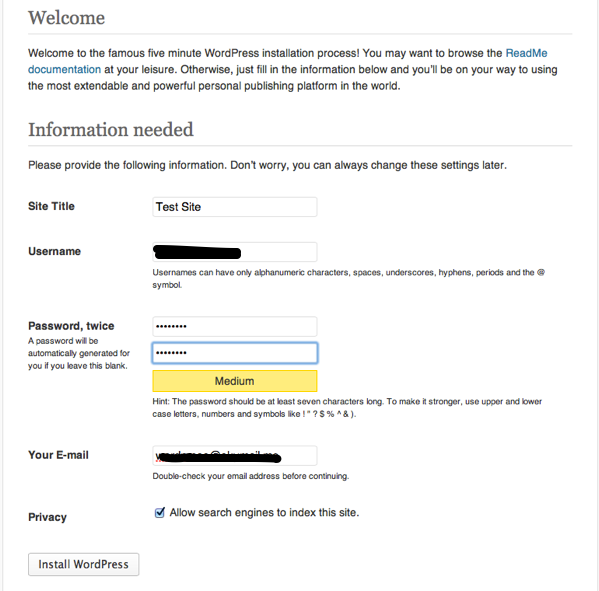
Open a web browser and navigate to your domain name e.g. http://yourdomain.com.
Fill out the database information that WordPress requests using your choices above. The process will look something like this:

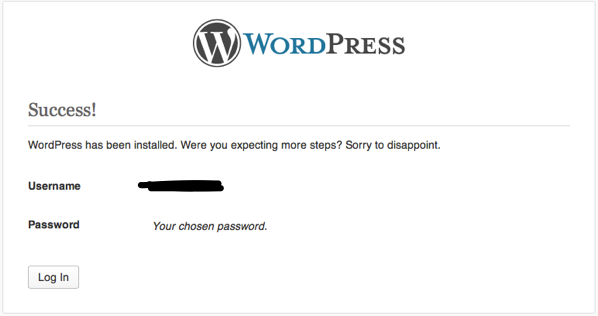
Now, let’s lock down the permissions for the WordPress installation for security:
sudo find /var/www/wordpress/ -type d -exec chmod 755 {} \;
sudo find /var/www/wordpress/ -type f -exec chmod 644 {} \;
Let’s also make manual updates to the wp-config.php file:
sudo nano /var/www/wordpress/wp-config.php
Add the following configuration lines above the stop editing line:
define('FS_METHOD', 'direct'); // for automatic plugin installation
/* That's all, stop editing! Happy blogging. */
Try logging into the WordPress Administration system. Visit http://yourdomain.com/wp-admin and enter the user name and password you chose during the installation process:

WordPress Administrator Login
If you’re successful, it should look something like this:

WordPress Administrator Dashboard

Congratulations on your new WordPress installation. Now, it’s time to build the foundation for super fast performance. Next step is Installing Varnish.
[sc:TutorialFooter]