[sc:khpreamble]
Install the Necessary Plugins
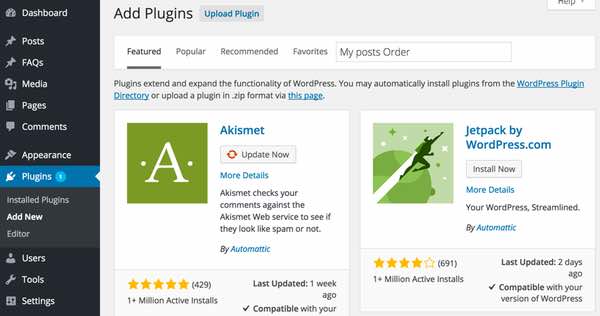
[sc:khtutor]Let’s begin installing all WordPress plugins we’ll need to run our knowledge base website well. Note: If you purchased the readymade bundle from me, they’ll already be installed.
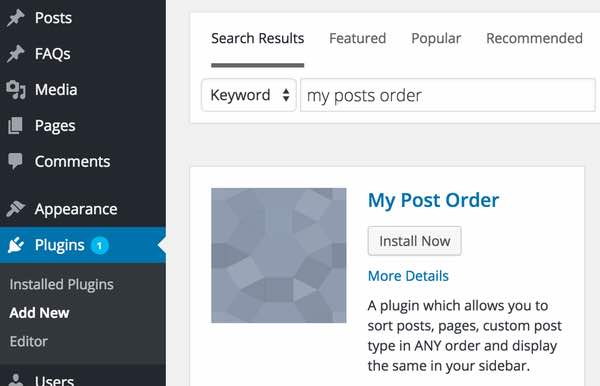
From the Dashboard, hover over the left sidebar Plugins menu and select Add New. Then, install each of these in any order by typing the name into the search bar:
- Contact Form 7
- Disqus
- Google Analytics
- My posts Order
- Mailgun
- Really Simple CAPTCHA
- Social Media Feather or WP Social Share ($9)
- Statcounter
- W3 Total Cache (not needed if using WPEngine)
- Yoast SEO
Note: Because I’m not using WordPress comments, I delete the Akismet plugin, installed by default. I also delete the Hello Dolly plugin.
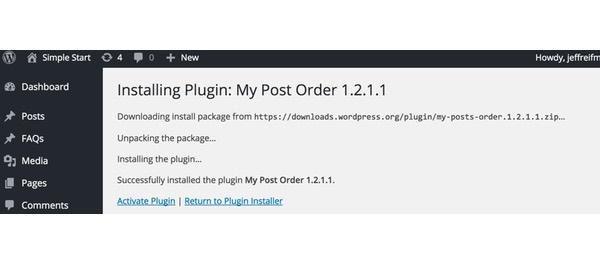
The process looks like this:
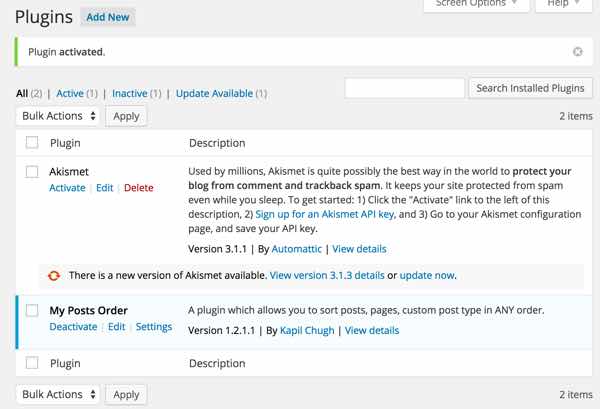
When you’ve added all the plugins, you should see something like this:

The Plugin Listing After Additions
Sign Up for Related Services (all free)
Next, let’s sign up for the handful of services we’ll use for these plugins and to optimize search engine awareness of our site.
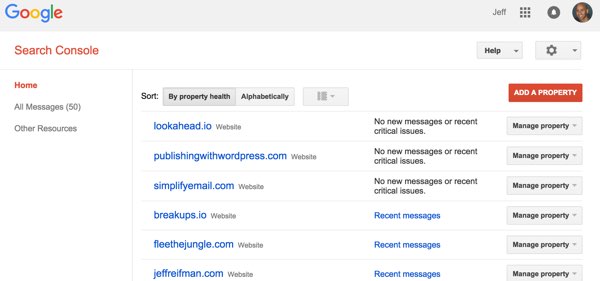
Google Webmaster Tools
First, register for Google Search Console (formerly Google Webmaster Tools). Then, add a property for your knowledge base:

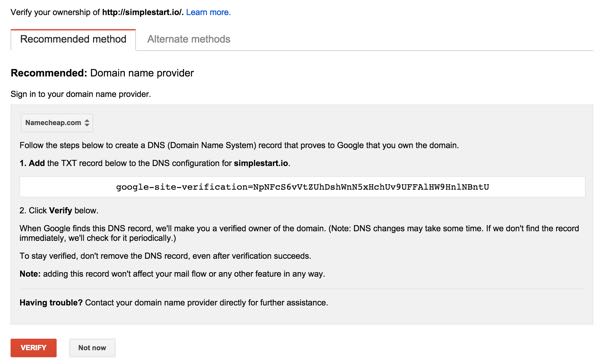

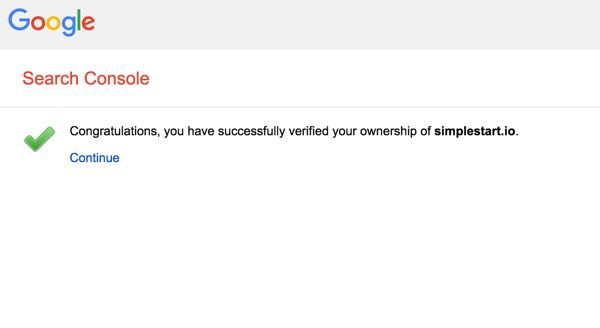
As shown above, Google will request that you add a TXT record to your domain DNS to prove to Google that you own the website.
To optimize awareness of your site with search engines (generally called SEO), you’ll need to instruct the Yoast SEO plugin to generate a sitemap file and then register your sitemap with Google Search Console.
Integrating Yoast with Google Search Console
First, we’ll activate the YoastSEO plugin. Then, click the request to integrate the Google Search Console.

Yoast Connect with Google Search Console
Then, authenticate Yoast with Google:

Yoast Authenticate with Google
You’ll be asked by Google to verify access by Yoast:

Yoast Google Permissions
Copy the Google Authenticator code:

Google Authenticator Code
Finally, paste the code into the Yoast plugin:

Yoast Connect to Google
There continues to be a bug with the Yoast plugin that requires Site Maps be turned off and saved, then turned on again before they work properly. You can visit the sidebar’s SEO Sitemaps menu and toggle the checkbox off and save.

Yoast Toggle the Site Map
Then, turn it back on and click the XML Sitemap button:

Your Yoast Sitemap
Then, return to Google Search Console to add your Site Map:

Add Your Sitemap to Google Search Console
Click No Sitemaps to get to the Add or Test a SiteMap button — type in sitemap_index.xml and click Submit Sitemap.

Add Your Sitemap
Statistical Tracking with Google Analytics and StatCounter
For statistical analysis on my websites, I prefer to use two different free services: Google Analytics and StatCounter. Again, you’ll need to register with each service and add sites for your knowledge base site with each.
First, add your site at Google Analytics:

Add a Google Analytics Site
Here’s an Analytics code like one you’ll be given:
Google Analytics Tracking Code
Then, visit the sidebar Settings -> Google Analytics option for the plugin menu to configure your Analytics code:

Insert Google Analytics Code
Next, add your site at StatCounter. Just visit the StatCounter website and Add a Project:

Add a StatCounter Project
Then, get the project installation code for StatCounter:

StatCounter installation
And, finally, visit the Plugins -> Statcounter Admin settings page in WordPress. Here, you’ll place the project and security code into the settings:

- Statcounter plugin setup
Installing Disqus Comments
I highly recommend the free Disqus comment service instead of built-in WordPress comments. One reason is how familiar people are with Disqus and that many visitors already have accounts. Another is that Disqus’ Javascript separates the load and scaling issues which can bring WordPress sites to their knees under heavy performance loads.
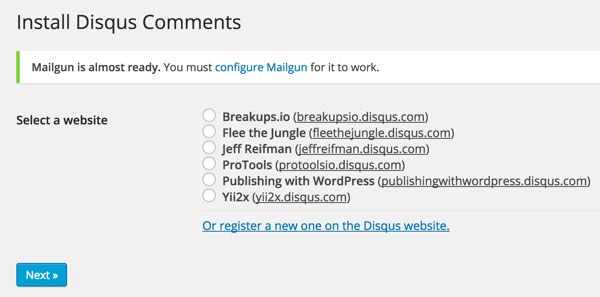
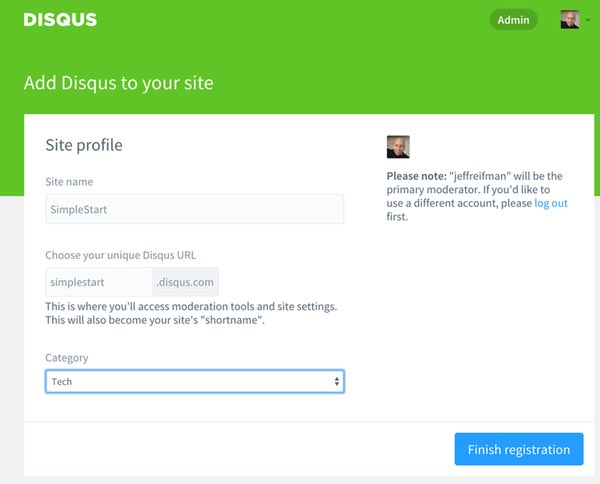
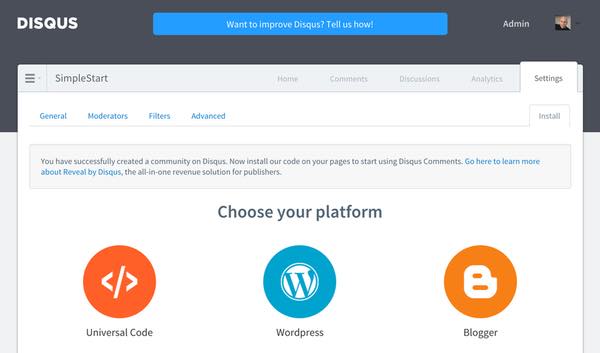
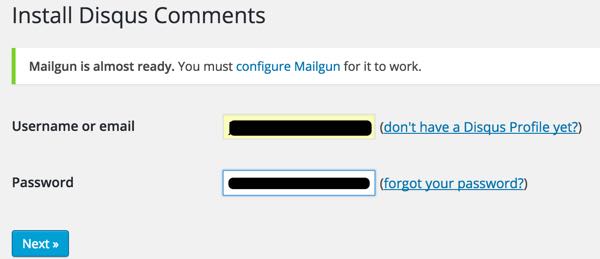
First, you’ll need to register for an account at Disqus. Then, we’ll configure the Disqus Plugin within WordPress:
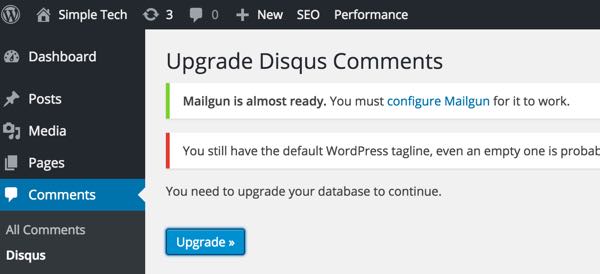
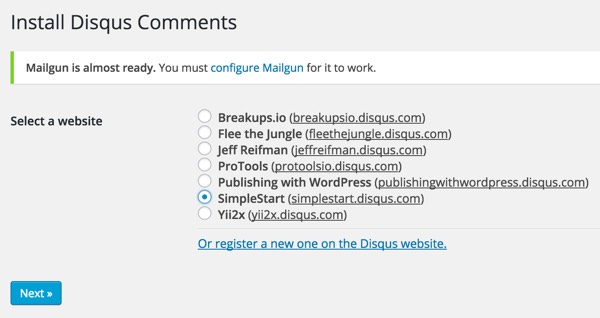
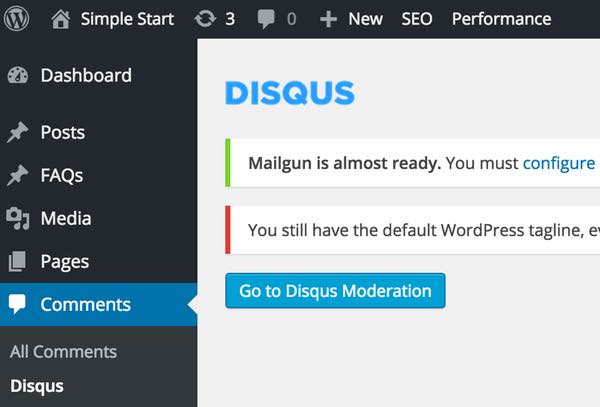
From the Dashboard sidebar, click Comments -> Disqus. There will be a series of steps to follow shown below:
First, upgrade your database. Then, choose register a new Disqus site. Fill out the green site creation dialog. Then, choose WordPress for instructions for site integration. Then, return to your WordPress Dashboard, sign in to Disqus and add the new site. Click Go to Disqus Moderation to see the comments moderation capabilities offsite. The sequence should look something like this:

Now, we’ll configure email services for your site.
Installing WordPress Mail Services
Many WordPress publishers struggle with overloading their server with email services (SMTP) and this can open their site to additional vectors of attack from hackers. Instead, I use the free Mailgun email service and plugin.
First, you’ll need to register at Mailgun. To prove to Mailgun that you own the domains they’ll be delivering your mail from, they will ask you to configure more TXT records as we did above with Google Search Console.

Create a domain at Mailgun
Then, you’ll need to visit the Mailgun Control panel to get your customized settings for your new domain name.

Mailgun DNS Configuration
From here, return to your DNS control panel and configure settings for these like this. The TXT records verify for Mailgun that you own and can authenticate the domain:
Mailgun Domain Authentication
The MX Records allow you to have your domain’s email delivered through Mailgun:

Mailgun MX Records configuration
Once your DNS records are updated, you’ll see something like this in the Mailgun control panel:

Mailgun Properties
Then, you’ll need to configure the Mailgun WordPress plugin in WordPress using the domain name and API key above. Once you fill these in on the Plugin settings form, click the Test Configuration button:

Mailgun Test Configuration
If you’d like to read more, I’ve written a couple of tutorials about this: Why I’m Using Mailgun with Geogram and Get a Fast Start With the Mailgun Plugin for WordPress.
With so many plugins and services configured, we’re ready to install our theme and bring our knowledge base to life.
Continue reading: Installing Your Theme